IP Authorization is a fairly simple yet important step on a user’s part to ensure seamless access to proxies. Often, you may find that although you have bought a proxy product, even after adding the username or password, the proxy fails to connect. The reasons behind this scenario could be myriad. Authorizing your IP address helps you connect to your proxies without fail and also avoids the hassle of adding usernames and passwords every time you try to connect to the proxies.
Here are the steps you can follow to authorize your IP address in MountProxies –
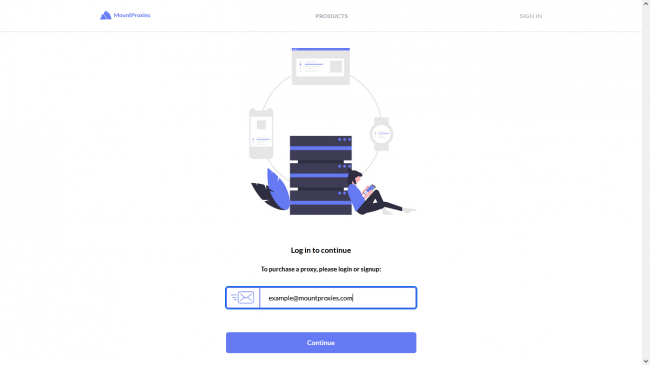
- Go to www.mountproxies.com
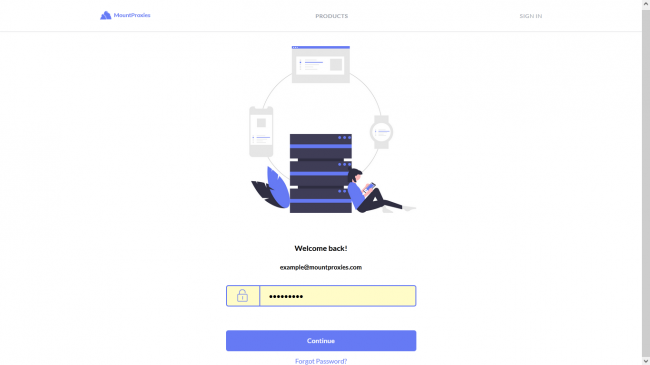
- Log in using your email address and password.
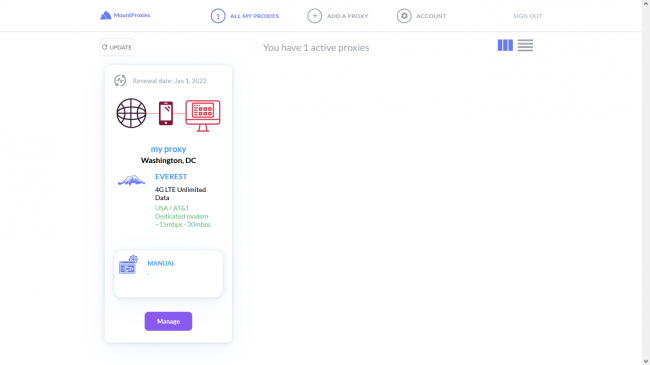
- Buy a proxy subscription (if you haven’t yet).
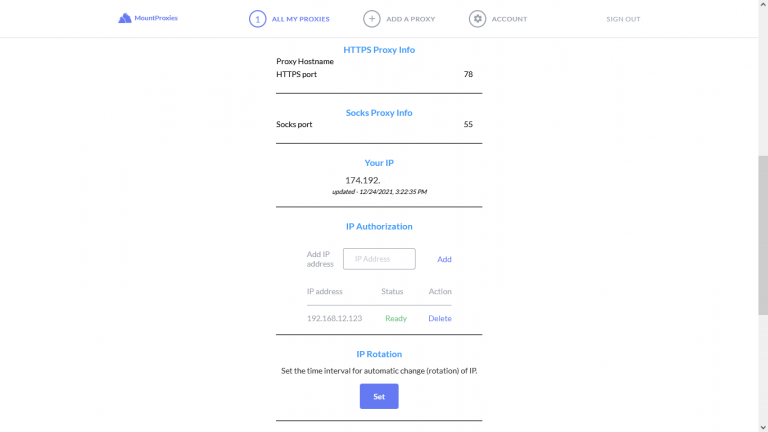
- Once you have an active subscription, click “Manage”.
- Under the “IP Authorization” section, add your IP address and click “Add”.
- Open browser settings:
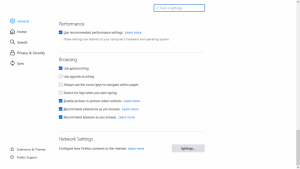
- If you’re using Firefox –
- Click on “Settings” under the “Network Settings” category.
- If you’re using Firefox –
-
-
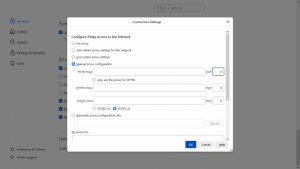
- Select “Manual Proxy Configuration”.
-
2. Alternatively if you’re using Chrome –
-
-
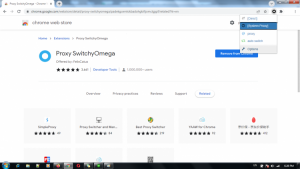
- Go to the Chrome Web Store.
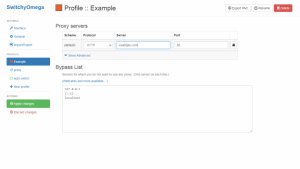
- Install a proxy setting extension of your choosing (In this guide, we used Proxy SwitchyOmega as an example) in your Chrome browser.
-
-
-
- After installation, select the option [System Proxy].
-
- In the case of Firefox, fill up the empty fields with proxy IP and port, but don’t add the username and password.

- In the case of Chrome, create a new proxy profile by adding a protocol (HTTP/HTTPS/SOCKS5), the server, and the port of your proxy product. Don’t add the username and password of your proxy and click “Apply Changes”.
- Open a new tab and type any web address you want to visit. If your authorization was successful, you will not be prompted for the username and password of the proxy subscription you bought.
At MountProxies, we value customer satisfaction the most. In case you have any trouble while authorizing your IPs or have any suggestions and feedback for us, please reach out to us through chat or email. Our customer service team is available 24×7 to assist you with everything you need!