Proxy servers, or simply proxies are intermediate networks between a traffic origin and a destination source. Imagine proxy networks as a “selective filter” in which case, you can be anonymous while sending and receiving requests to and from a certain website, protecting your identity and privacy.
In a time when data breaches, and other forms of cybersecurity threats are becoming more numerous and sophisticated, using proxies has turned into a common practice. The internet is clearly a minefield, and proxies help you go that extra mile to ensure your data and privacy is fully protected against unprecedented malware attacks. This applies to both businesses and individuals.
Setting up proxies across multiple devices is an easy business when you understand the know-how. In a previous article, we added a comprehensive guide on setting up proxies in two popular web browsers, Firefox and Chrome. In this article, we’ll be describing the steps to connect proxies in an iPhone.
Without adding proxies in your iPhone, you cannot access popular social platforms like TikTok, Tinder, and Snapchat.
- Open Settings
- Select General
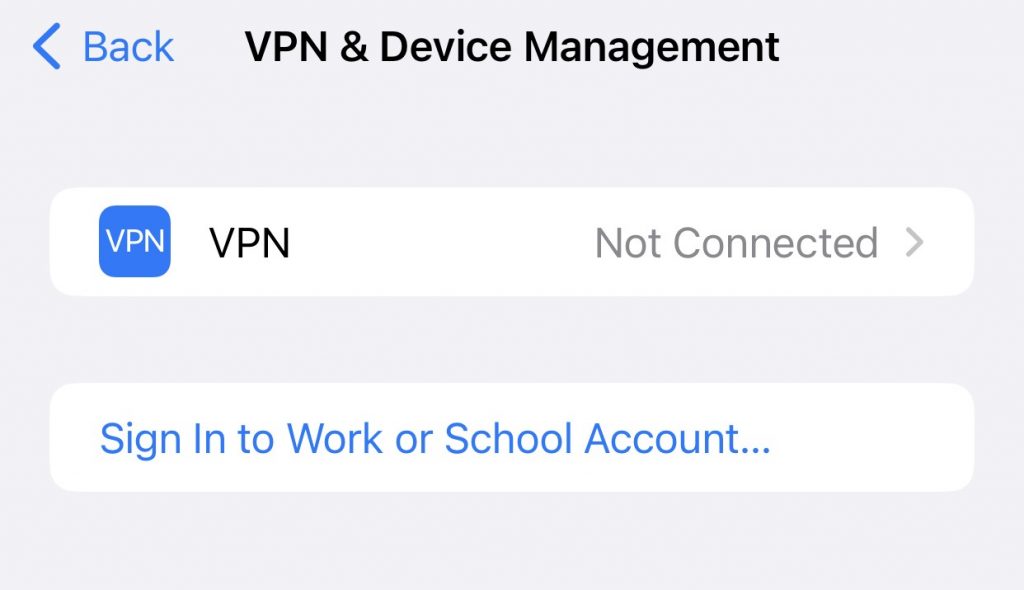
- Navigate to VPN & Device Management
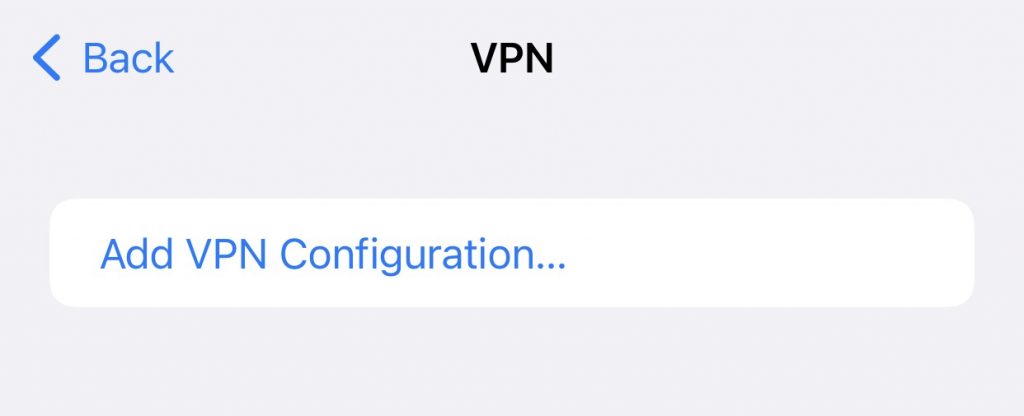
- Select VPN
- Now select Add VPN Configuration
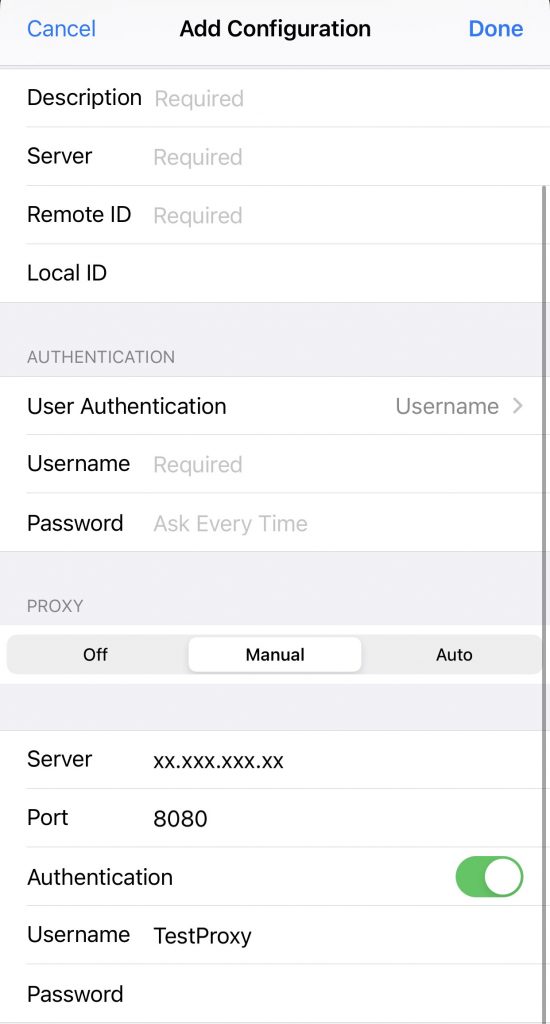
- Under the Proxy section, select “Manual”
- Enter server and port number as it shows on MountProxies dashboard
- Under the Proxy section, switch “On” the Authentication toggle
- Enter username and password as shown on your MountProxies dashboard
- Select Done
Once you have saved the credentials, you will be able to connect to your proxies, and surf any website or download any app of your choice without disclosing your real IP address.
Please feel free to contact support should you have any concerns or questions, or would like to send us a quick feedback. We will be happy to hear from you!