Setting up your proxy is a simple process once you have access to some fundamental items upon buying a proxy subscription. This article will provide you with precise steps that you can come back to time and again for setting up your proxies.
In Firefox Browser
- Go to www.mountproxies.com
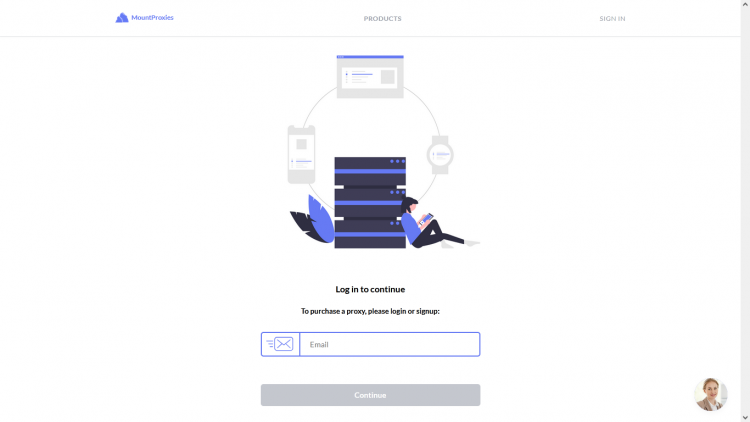
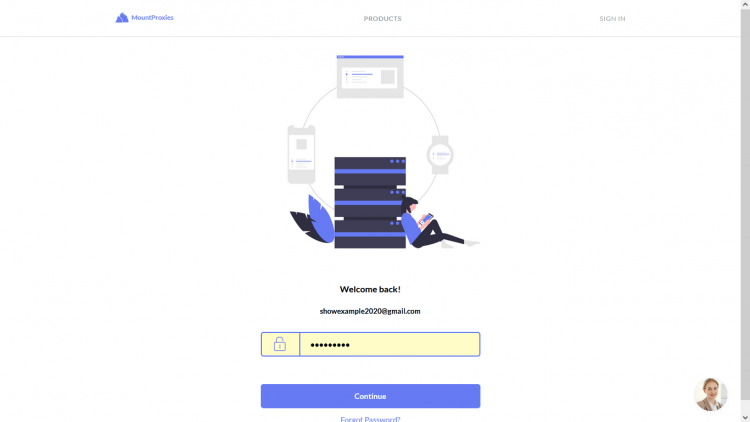
- Log in using your email address and password.
- Buy a proxy subscription (if you haven’t yet).
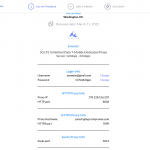
- Once you have an active subscription, click “Manage”.
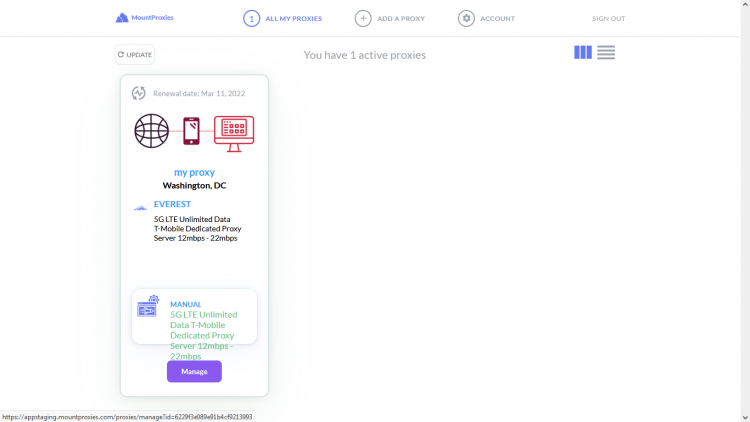
- You will be redirected to a dashboard with all information relevant to your proxy listed. You can copy the username, password, IP, and port as required.
- Open your browser settings.
- Click on “Settings” under the “Network Settings” category.
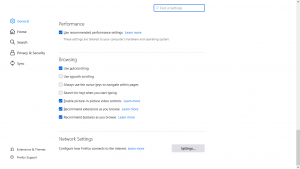
- Select “Manual Proxy Configuration”.

- Fill up the HTTP/HTTPS/SOCKS5 fields with IP/Port configurations as required.
- Click “Ok” to save your settings.
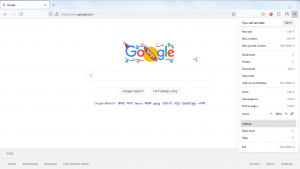
- Open a new browser tab.
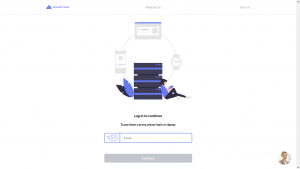
- You will be prompted to enter the username/password for that proxy.
- Enter the username/password (you’ll find this in your “Manage Proxy” page).
- You will now be able to use the proxy in your browser.
In Chrome Browser
- Go to www.mountproxies.com

- Log in using your email address and password.
- Buy a proxy subscription (if you haven’t yet).
- Once you have an active subscription, click “Manage”.
- You will be redirected to a dashboard with all information relevant to your proxy listed. You can copy the username, password, IP, and port as required.

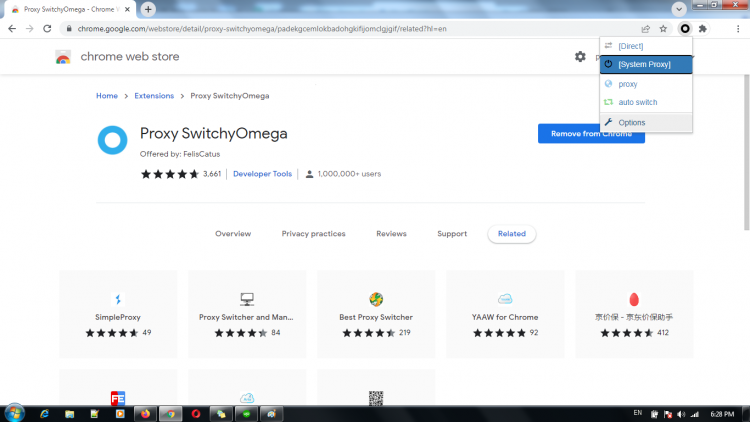
- Now, go to the Chrome Web Store.
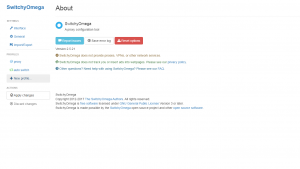
- Install a proxy setting extension of your choosing (In this guide, we used Proxy SwitchyOmega as an example) in your Chrome browser.

- After installation, select the option [System Proxy].
- Create a new proxy profile by adding a protocol (HTTP/HTTPS/SOCKS5), the server, and the port of your proxy product.

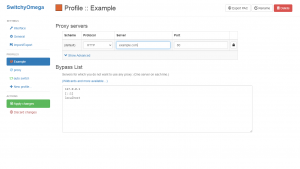
- Once you’ve added all the details, click Apply Changes.

- Open a new browser tab and click the proxy setting extension icon. You’ll find the proxy profile you created in the list. Select it to connect to the proxy.
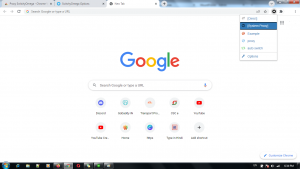
- You will be prompted to enter the username/password for that proxy.
- Enter the username/password (You’ll find this in your “Manage Proxy” page in your dashboard in mountproxies.com).
- You will now be able to use the proxy in your browser.
Please feel free to contact support if you have any concerns or questions. We will be happy to hear from you!